You press a DTF transfer, peel it back, and there it is: a faint white glow tracing the edge of your design. The print itself looks fine — but that hazy outline makes it look cheap, like a sticker slapped on the shirt.
Haze has a few causes. Powder, humidity, curing and pressing can all leave a white edge. But the quickest one to check, and one we saw again and again across thousands of orders, is your file.
Here's exactly what causes white haze on DTF transfers — and how to kill it before it ever reaches the press.

A soft glow around the edges looks fine on screen.
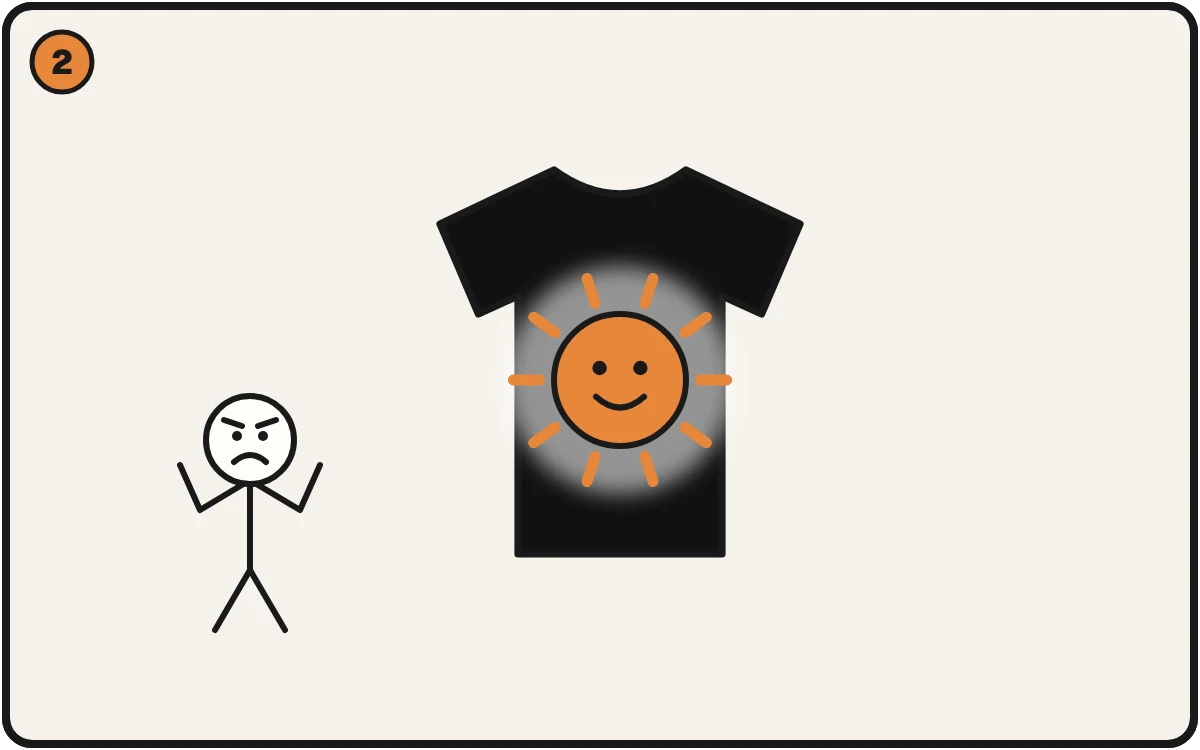
On a dark shirt, those half-clear edges print as a pale ring.
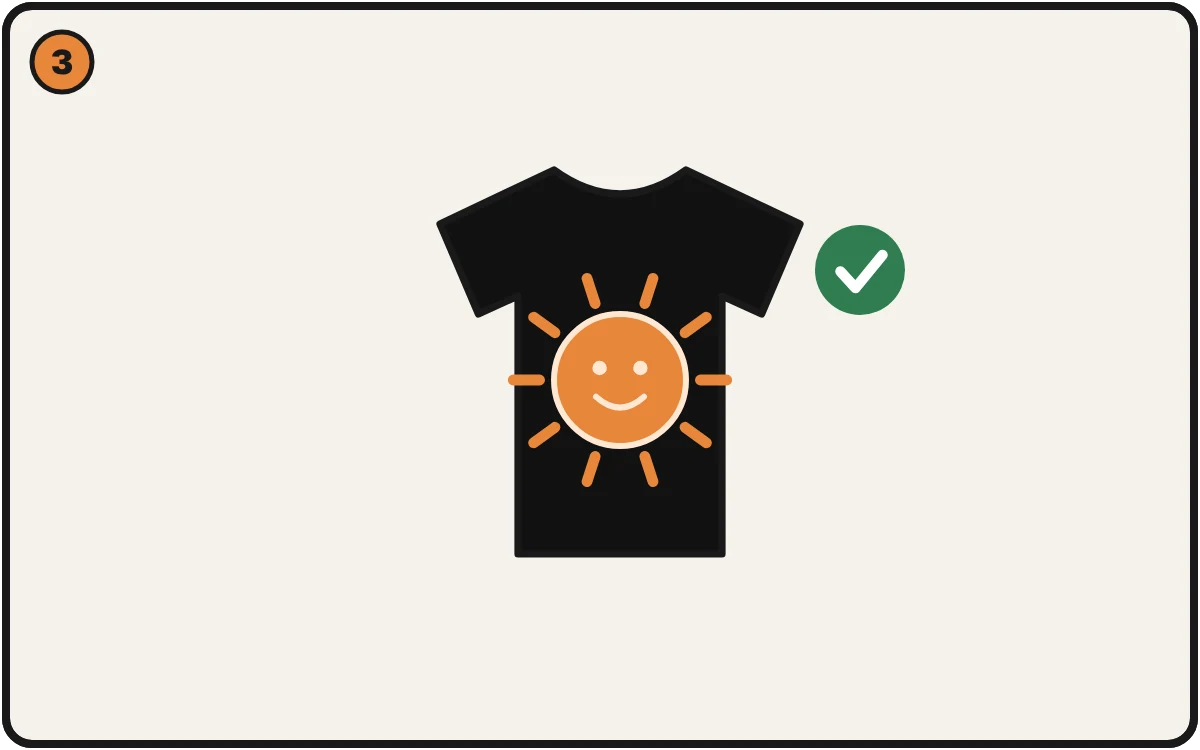
Clean the edge before you press and the ring is gone.
What white haze actually is
DTF works by laying down a layer of white ink under your colors, so the design shows up on dark shirts. Many RIP setups decide where to put that white underbase from which pixels in your file aren't fully clear.
The problem is that most design files have a band of semi-transparent pixels around the edges of the artwork. You can't see them on screen — they look like clean edges. But they're not fully invisible, so the printer treats them as "print something here" and lays down a thin halo of white ink.
That halo is your white haze.
It shows up most on:
- Designs with soft or feathered edges (glows, shadows, blurred outlines)
- Artwork from design apps or image generators with smoothed edges
- Anything that's been resized or scaled without cleaning up the edge afterward
Why you can't see it until it's printed
On a screen, a pixel that's 10% opaque just looks like a slightly soft edge — your eye blends it into the background. It reads as "smooth."
But a DTF printer doesn't see "smooth." It sees a pixel with some opacity and asks: do I print white ink here or not? Depending on the RIP settings, the answer can be yes, even for a pixel that's barely there. Some RIPs can thin that white, but you can't count on every shop having it set up.
So a soft edge that looks great on your monitor becomes a visible ring of white ink on a black shirt. The screen lied to you. The press told the truth.
The fix: remove semi-transparent edge pixels
The fix is to harden the edges of your file — force every edge pixel to be either fully opaque (print it) or fully transparent (don't). No in-between. No haze.
In a full design tool like Photoshop, this means working with alpha thresholds, layer masks, and matting — fiddly, and easy to overdo (cut too hard and your design looks jagged; too soft and the haze stays).
The faster way is to let software detect the semi-transparent pixels and clean them in one pass. That's what the clean-edges step in PrintReady Flow's Fix All does:
- Upload your design.
- The check flags the semi-transparent edge pixels it found, ones you'd never spot by eye.
- One click removes the haze-causing pixels while keeping your real edges crisp.
No alpha-threshold guesswork, no Photoshop. You see the plan before it runs, and you press a clean file.
A quick way to check before you print
Before any DTF job, ask one question: does this design have soft, glowing, or feathered edges?
If yes, assume it has haze-causing pixels until you've cleaned them. Drop it into a free print-readiness check — it'll tell you in seconds whether your edges will print clean or print a halo.
It's a quick check that can save a wasted transfer, a wasted shirt, and a reprint.
The bottom line
White haze on DTF is often an edge problem in the file. Semi-transparent pixels around your artwork get printed as a thin white halo on dark garments. You can't see them on screen, but the press will.
Harden your edges before you print. If a clean file still hazes, look at powder, humidity, curing and press settings next.