Every week, print shops deal with the same problem: a customer sends a logo, it looks fine on their phone, and then it comes out blurry on the shirt.
Very often, that's a resolution problem.
Here's what DPI actually means — and how to know if your file has it.
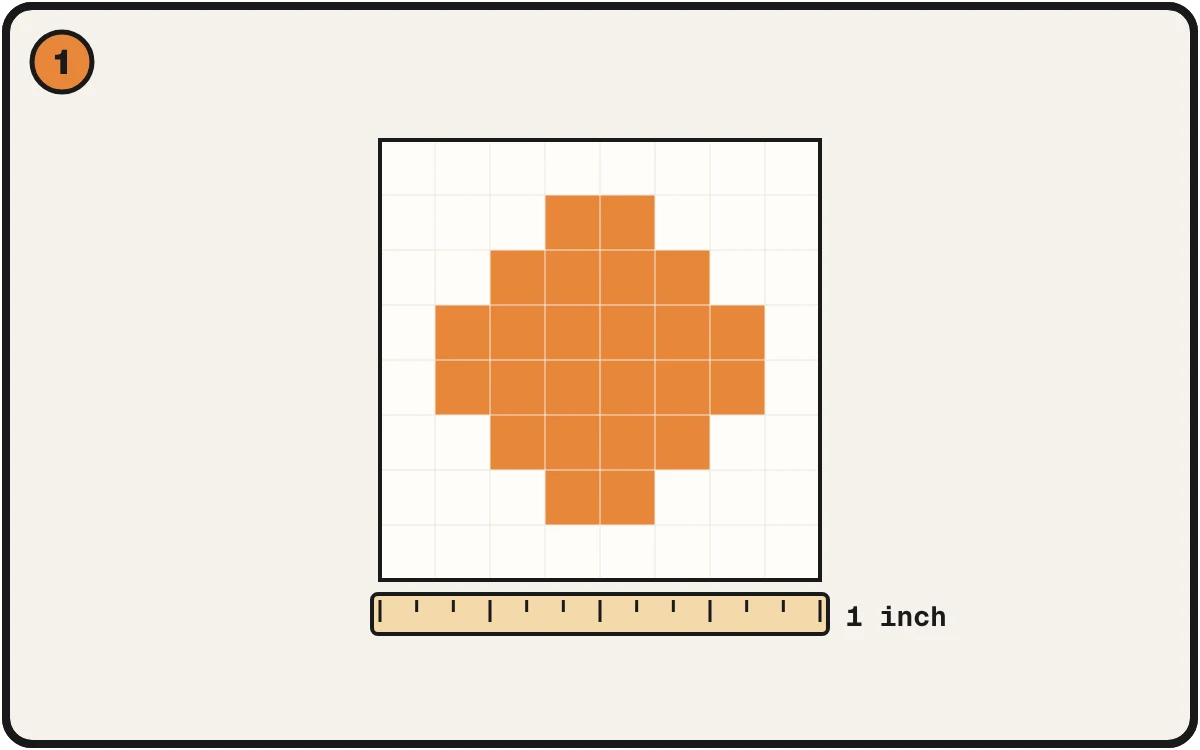
Every picture is made of tiny squares. Few squares per inch look blocky.
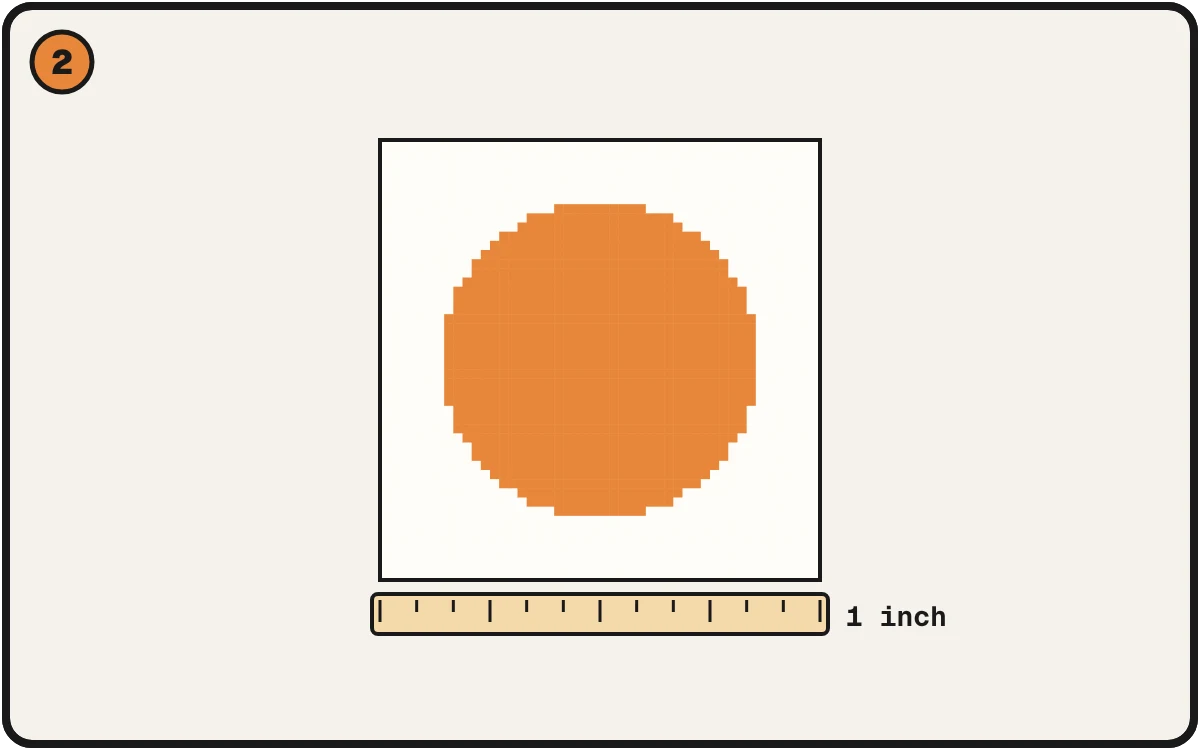
More squares in the same inch look smooth.
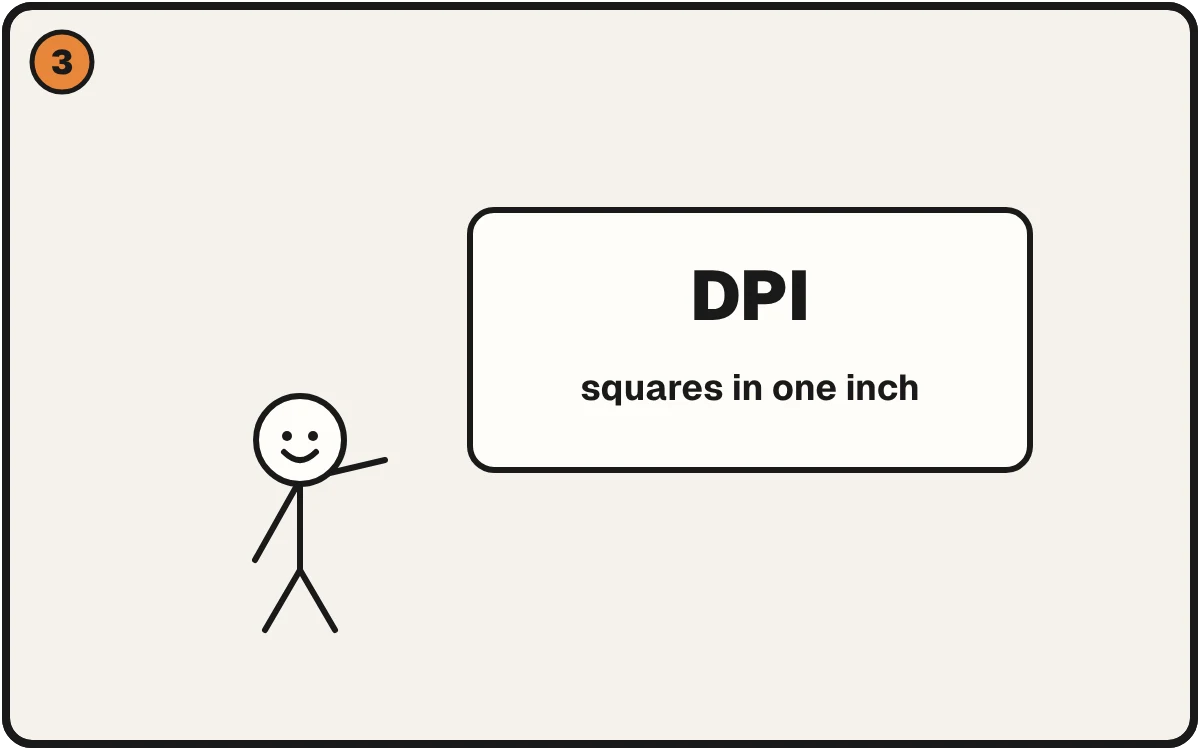
More squares per inch, sharper print. That count is what DPI is about.
DPI in plain English
DPI stands for "dots per inch." It's how many tiny ink dots a printer lays down per inch of space on your shirt, banner, or transfer.
Think of it like a mosaic tile floor. If you use huge tiles (low DPI), you can see the individual pieces and the image looks rough. If you use tiny tiles (high DPI), the image looks smooth and detailed.
For printing, about 300 DPI at the size you print is the usual target. Up close, the eye reads that as clean and sharp. 250 to 300 is the working range, depending on the size and type of artwork.
Below 250, detail starts to soften. Well below that, the print looks soft or blocky.
Why screen resolution fools everyone
Your phone and computer screen can make a low-quality image look perfectly fine. A screen shows the picture small and smooths it as it scales. (The 72 and 96 DPI numbers you see in files come from old computer screens. They say nothing about print quality.)
A print is bigger and seen up close. And a printer can't add detail your file doesn't have.
So an image that looks great on a screen can print blurry, because there simply isn't enough detail in the file to fill the physical print space.
A simple way to see it
Here's a real example:
A customer sends you a logo that's 1000 x 1000 pixels.
- At 300 DPI, it prints cleanly up to about 3.3 inches wide.
- At 250 DPI, about 4 inches wide.
- Stretch it to 13.8 inches and you're at about 72 per inch. That's where it looks soft and blocky.
So a logo that fills someone's phone screen might only print sharp at about 3 to 4 inches wide. That's why "it looks good on my screen" is not the same as "it's ready to print."
What counts as print-ready?
For most print methods — DTF, DTG, screen printing — aim for:
- 300 DPI at the final print size as the target, and 250 to 300 as the working range, depending on the size and type of artwork
- If you're upscaling a small image to fill a large print, the DPI drops fast
- True vector art (AI, EPS, SVG) scales to any size without losing quality. But a vector file can hide a photo or effect made of pixels, and those parts can still blur
A quick warning sign: a 12-inch print needs 3,000 to 3,600 pixels across to land in the 250 to 300 range. Check it before you print anything.
How to fix a low-DPI file
You have a few options:
- Go back to the customer and ask for a higher-res version or the original vector file
- Upscale it — tools like PrintReady Flow rebuild a small file so it prints sharp at full size, without the blurry "photoshop stretched" look. It fills in detail by estimating it, which looks much cleaner than stretching. Check faces, text and fine lines afterward
- Print smaller — a file that's 150 DPI at 10 inches is 300 DPI at 5 inches
What doesn't work: dragging the size handle in Photoshop or Canva to make it "bigger." That just stretches existing pixels and makes the blur worse.
The fastest way to check a file
Instead of opening Photoshop and doing the math manually, you can drop any file into PrintReady Flow and it'll tell you instantly:
- What the actual DPI is
- What the maximum safe print size is at 300 DPI
- Whether it needs to be fixed before printing
It takes seconds and it's free. No account needed.
If the file passes, you're good to go. If it doesn't, you'll know exactly what's wrong — and you can fix it right there.